Rectangle Pattern
Intro
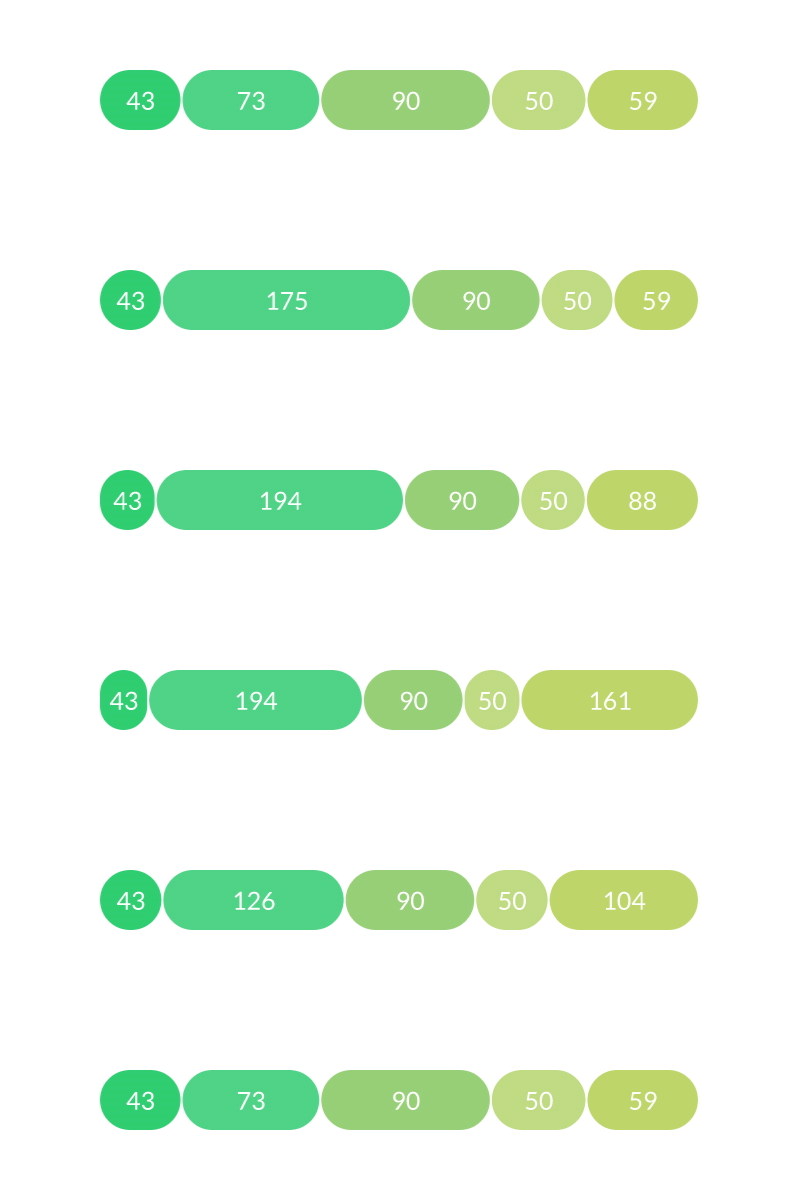
The Rectangle Pattern Shape can be used to create stacked bar charts and pie charts. Input values are normalised to fit its width or angle.
UI
- Shape
- Advanced
Pattern Mode - Set the distribution for the pattern:
- Line - Distribute the rectangles along a line.
- Use Fixed Size - When checked the bars will be scaled to fit the Size.
- Orientation - Set the direction of the line:
- Horizontal - Bars are oriented along the X axis.
- Vertical - Bars are oriented along the Y axis.
- Size - Set a fixed size for the Shape.
- Gap Type - Set the gap style:
- Alternating - Each gap is set by the Bar Size. In this mode, Count includes rectangles and gaps.
- Fixed Width - Each gap is set by the Fixed Gap Width. In this mode, the gaps are in addition to the Count.
- Fixed Gap Width - Set a fixed width for each gap.
- Alignment - Align the Shape to a position between its left (0) and right (1) edges.
- Ring - Distribute the rectangles along a ring.
- Outer Radius - Set the outer radius of the ring.
- Inner Radius - Set the inner radius of the ring.
- Start Angle - Set the start angle.
- End Angle - Set the end angle.
- Gap Type - Set the gap style:
- Alternating - Each gap is set by the Bar Size. In this mode, Count includes rectangles and gaps.
- Fixed Angle - Each gap is set by the **Fixed Gap Angle. **In this mode, the gaps are in addition to the Count.
- Fixed Gap Angle - Set a fixed angle for each gap.
Count - Set the total number of rectangles and gaps.
Dynamic Bar Size - Connect a Behaviour to set the size of the rectangles. The values are normalised to fit the Size.
Note that a 'gap' is actually an empty rectangle so connecting, for example, a Random Behaviour to the Dynamic Bar Size will create randomly sized rectangles and gaps.
Use Index Context - When checked, the Rectangle Pattern Shape will pull Context. This can be used to control how Ids are assigned and so affect each rectangle individually – for example, adding a Color Array via a Sub-Mesh to the Rectangle Pattern Shape's Fill Color.
- Create a Rectangle Pattern Shape.
- Set the Gap Type to Fixed Width.
- Set the Count to 5.
- Create a Value Array.
- Add 4 more indices (for a total of 5) to the Value Array and set different values for each one.
- Connect valueArray.id→rectanglePatternShape.dynamicBarSize.
The values in the Value Array are normalised to fit the width of the Rectangle Pattern Shape. Try changing the Pattern Mode to Ring.
A Sub-Mesh can be used to add colors to each section of the Rectangle Pattern Shape:
- Click the
+next to the Rectangle Pattern Shape's Deformers attribute. - Select Sub-Mesh from the list.
- On the Sub-Mesh's Fill tab, check Replace Fill.
- Right click on the Sub-Mesh's Color attribute and choose
Add Array > Color Array. - Add 4 more indices (for a total of 5) to the Color Array and set different colors for each one.